

If your cat hears the treat bag and appears from three rooms away, but you’re side-eyeing the ingredients list, you’re not alone. The good news: with a few basics in your kitchen, you can make homemade cat treats recipes that your vet is far more likely to approve of.
We’ll walk through safe and unsafe ingredients, a few easy cat treats you can throw together in minutes, and how to tweak recipes for sensitive stomachs or allergies. You’ll also learn how to store them properly so they stay fresh and safe.
Are homemade cat treats actually healthier?
Short answer: they can be, if you’re sensible about it. Shop-bought treats are often full of carbohydrates, flavourings, colourings and salt. One review of pet foods and treats found that many commercial options are energy-dense and can contribute to weight gain when overused.[1] When you make your own, you control the ingredients, the portion size and how often you give them.
That said, homemade cat treats are still treats. They shouldn’t replace a complete, balanced cat food. Most vets recommend that treats make up no more than about 10% of your cat’s daily calories.[2] Overdoing even healthy cat treats can still lead to weight gain or tummy upset.
Where homemade cat treats really shine is for cats who are fussy, on special diets, or sensitive to additives. You can skip unnecessary fillers and focus on simple, species-appropriate ingredients (mainly animal protein). For ideas on balancing the rest of your cat’s diet, have a look at our piece on keeping indoor cats at a healthy weight.
Safe and unsafe ingredients for cat treats
Cats are obligate carnivores. They’re built to eat mostly animal protein and fat, with very little carbohydrate.[3] That’s your starting point when choosing safe ingredients for cat treats without additives.

Generally safe ingredients (in small amounts)
- Cooked plain meat or fish: chicken, turkey, beef, lamb, salmon, tuna (in spring water), white fish – always boneless and cooked without salt, onions or sauces.
- Eggs: well-cooked scrambled or boiled egg; avoid raw due to bacteria risk.
- Small amounts of cooked liver: rich in vitamin A, so only tiny portions occasionally.
- Pumpkin or butternut squash: plain, cooked and mashed – can help some cats with mild constipation.
- Cat-safe herbs: a pinch of dried catnip or finely chopped cat grass for interest.
Ingredients to avoid completely
- Onion, garlic, leeks, chives (fresh, powdered or cooked) – can damage red blood cells and cause anaemia.[4]
- Chocolate, coffee, tea – contain methylxanthines, toxic to cats.
- Grapes, raisins, sultanas – linked to kidney failure in pets.
- Alcohol (including in extracts) and uncooked bread dough.
- Xylitol and other sugar alcohol sweeteners – can be very dangerous for pets.
- Excess salt, seasoning, stock cubes – cats don’t need it and some seasonings are toxic.
Plenty of grains and dairy products are not technically toxic, but many cats don’t digest them well. If you want grain free cat treats or your cat has a sensitive stomach, it’s usually easier to leave them out. When in doubt about an ingredient, ask your own vet first.
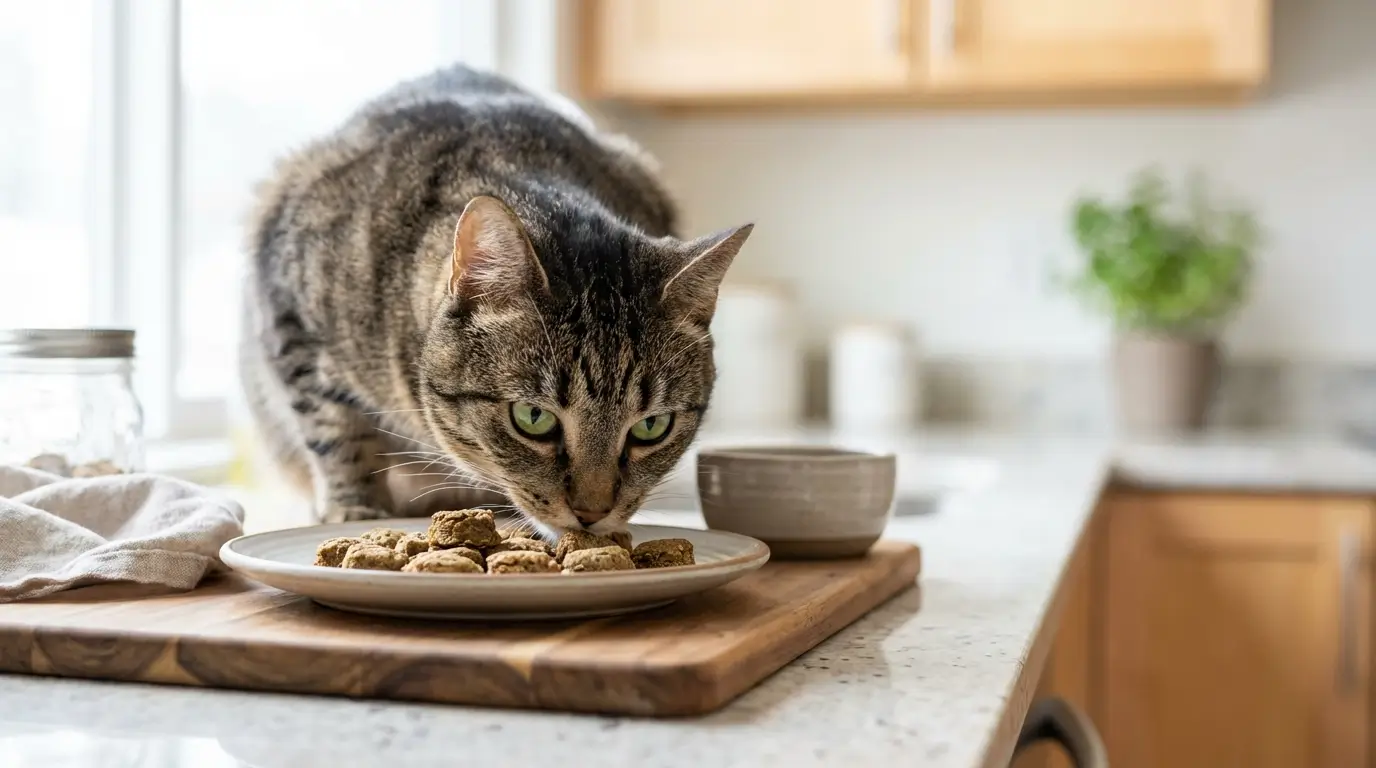
Three simple homemade cat treats recipes (2–4 ingredients)
Let’s get practical. These are easy cat treats you can make in a normal kitchen, with no special kit beyond a baking tray and a blender or fork. They’re deliberately small-batch, so you don’t end up wasting food.
1. Baked chicken nibble treats
Great for: most adult cats, grain free, baked cat treats fans.
- 80 g cooked chicken breast (plain, no skin or bones)
- 1 small egg
- 1–2 tbsp water as needed
- Preheat your oven to 160°C (fan) / 180°C (conventional).
- Blitz the chicken and egg together in a blender, or mash very finely with a fork. Add a teaspoon or two of water if the mix is too dry; you’re aiming for a thick paste.
- Line a baking tray with baking paper. Drop tiny pea-sized blobs of the mixture onto the tray.
- Bake for 12–15 minutes until firm and just starting to brown. Cool completely before serving.
These are high in protein and simple enough for cats with many food sensitivities, provided chicken and egg are safe for them.
2. No bake tuna freezer bites
Great for: quick no bake cat treats, hot days, cats who love fish.
- 1 small tin tuna in spring water, drained
- 1 tbsp plain cooked pumpkin or squash (optional, for fibre)
- Enough water to loosen to a thick slurry
- Mash tuna (and pumpkin if using) with a fork until smooth.
- Add a spoon of water at a time until it’s like a loose paste.
- Spoon into a clean ice cube tray, only filling each section halfway.
- Freeze. Pop out one cube at a time, letting it soften slightly before offering tiny portions.
Offer just a little at a time so you don’t overload your cat with fish. These homemade cat treats are handy for medication hiding too, if your vet agrees.
3. Crispy liver sprinkles
Great for: fussy eaters, boosting appetite, cats that like crunchy toppings.
- 100 g raw lamb or chicken liver
- Preheat oven to 120°C (low).
- Slice liver very thinly and lay pieces on a lined tray.
- Bake for 45–60 minutes until fully dried and crisp, turning once.
- Cool, then crumble into tiny bits and store in an airtight jar.
Use a pinch over your cat’s normal food. Liver is nutrient-dense, so keep this one very occasional – think garnish, not main course.
Homemade cat treats for sensitive stomachs and allergies
If your cat has a history of vomiting, diarrhoea, itchy skin or known food allergies, you need to be more careful. Always check with your vet before changing their diet, especially if they’re on a prescription food. But with the right base protein, homemade cat treats for sensitive stomachs can still work.

Start by sticking to one protein source your cat already tolerates well, such as chicken, turkey or a specific prescription-friendly meat. Avoid mixing meats, adding dairy, or using lots of fat. Simple is your friend here.
Two easy options:
- Single-ingredient meat cubes: Boil or bake your chosen meat plain, cool, then cut into tiny cubes. That’s it. No seasoning, no oils.
- Dehydrated strips: Slice lean meat into thin strips and bake on very low heat (around 100–120°C) until dry and chewy. This reduces moisture and helps them keep a bit longer.
Introduce any new treat very slowly – one or two pieces, then wait 24 hours. If your cat shows any tummy upset, stop and go back to what you know is safe. For more on feeding cats with tummy troubles, see our advice on supporting cats with sensitive digestion.
Storing homemade cat treats safely
Because these treats don’t contain preservatives, they won’t last as long as shop-bought ones. That’s actually a good sign, but it does mean you need to be strict about storage.
As a rough rule of thumb for most meat-based homemade cat treats:
- Fresh, cooked meat cubes: fridge 2–3 days; freeze up to 2–3 months.
- Baked semi-moist treats (like the chicken nibbles): airtight tub in the fridge 3–4 days; freeze up to 1–2 months.
- Fully dried treats (like liver sprinkles): cool, dry cupboard in an airtight jar for up to 2 weeks, or freeze for longer.
Always cool treats completely before sealing them in a container, or condensation can encourage mould. If anything smells off, looks fuzzy, or your cat turns their nose up, bin it. Food poisoning isn’t worth the risk.
It can help to freeze treats in tiny portions (using ice cube trays or small bags) so you only defrost what you’ll use in a couple of days. Label with the date – future you will thank you.
How to use homemade treats without overdoing it
Even with healthy cat treats, portion control matters. An average adult cat of around 4–5 kg only needs roughly 180–250 kcal per day, depending on life stage and activity.[5] It’s surprisingly easy to add 10–20% on top of that with treats.
A few simple rules keep you on track:
- Keep treats to around 10% of your cat’s daily calories – for many cats, that’s roughly 10–20 kcal of treats a day (think a few small pieces of meat, not handfuls).
- Use treats for training, handling practice (like getting used to the carrier or nail trims), or as a reward after medication rather than mindless snacking.
- Break treats into the smallest pieces your cat will happily work for – cats don’t count size, they count number of treats.
If your cat is overweight or on a strict diet, always check with your vet first. Sometimes you can swap a tiny bit of their normal food for homemade cat treats instead of adding extra calories on top.
When homemade isn’t the best option
Homemade cat treats recipes are brilliant for most healthy adult cats, but there are times to tread carefully. Kittens, pregnant cats, those with kidney disease, diabetes, pancreatitis or on therapeutic diets often need very specific nutrient and calorie control. For these cats, even small extras can unbalance things.
In those cases, work with your own vet or a veterinary nutritionist before offering anything off-plan. They may approve certain simple treats (like a tiny amount of your cat’s usual wet food frozen into licks) or recommend specific commercial options that fit the diet.
And remember: if your cat’s main food is complete and good quality, they don’t need treats at all. Treats are for training, enrichment and bonding – they’re for you as much as for them. If homemade treats start to feel stressful or confusing, it’s perfectly fine to keep things simple and stick to what your vet suggests.
Done right, homemade cat treats can be a lovely way to spoil your cat without loading them up with unnecessary additives. Pick safe ingredients, keep recipes simple, store them properly and go easy on the portions. If you’re ever unsure, bring a recipe along to your next vet visit and get their take – most vets are very happy to weigh in on a plate of cat biscuits.
“Treats should be occasional, species-appropriate extras – not the main event. When in doubt, prioritise your cat’s complete diet first and treats second.”
Ready to experiment? Start with one of the basic recipes above, watch how your cat’s tummy and weight respond over a couple of weeks, and adjust from there. Your cat gets tasty snacks; you get peace of mind about what’s in them – a fair deal all round.
References
[1] German AJ. Obesity in companion animals. Vet Rec. 2006.
[2] World Small Animal Veterinary Association (WSAVA) Global Nutrition Committee – Pet Nutrition Guidelines.
[3] National Research Council. Nutrient Requirements of Dogs and Cats. 2006.
[4] Merck Veterinary Manual – Onion and Garlic Poisoning in Dogs and Cats.
[5] BSAVA Manual of Canine and Feline Endocrinology – energy requirements.

5 Common Dog Health Problems

10 Best Irish Pet Rescues 2024

Indoor Cat Risks in Irish Homes